Atraumatic Extraction Technique
The extraction of a fractured tooth near the gum line can be difficult. Dr. Mark proposes an innovative approach incorporating atraumatic extraction and rapid implant insertion in the case study below.
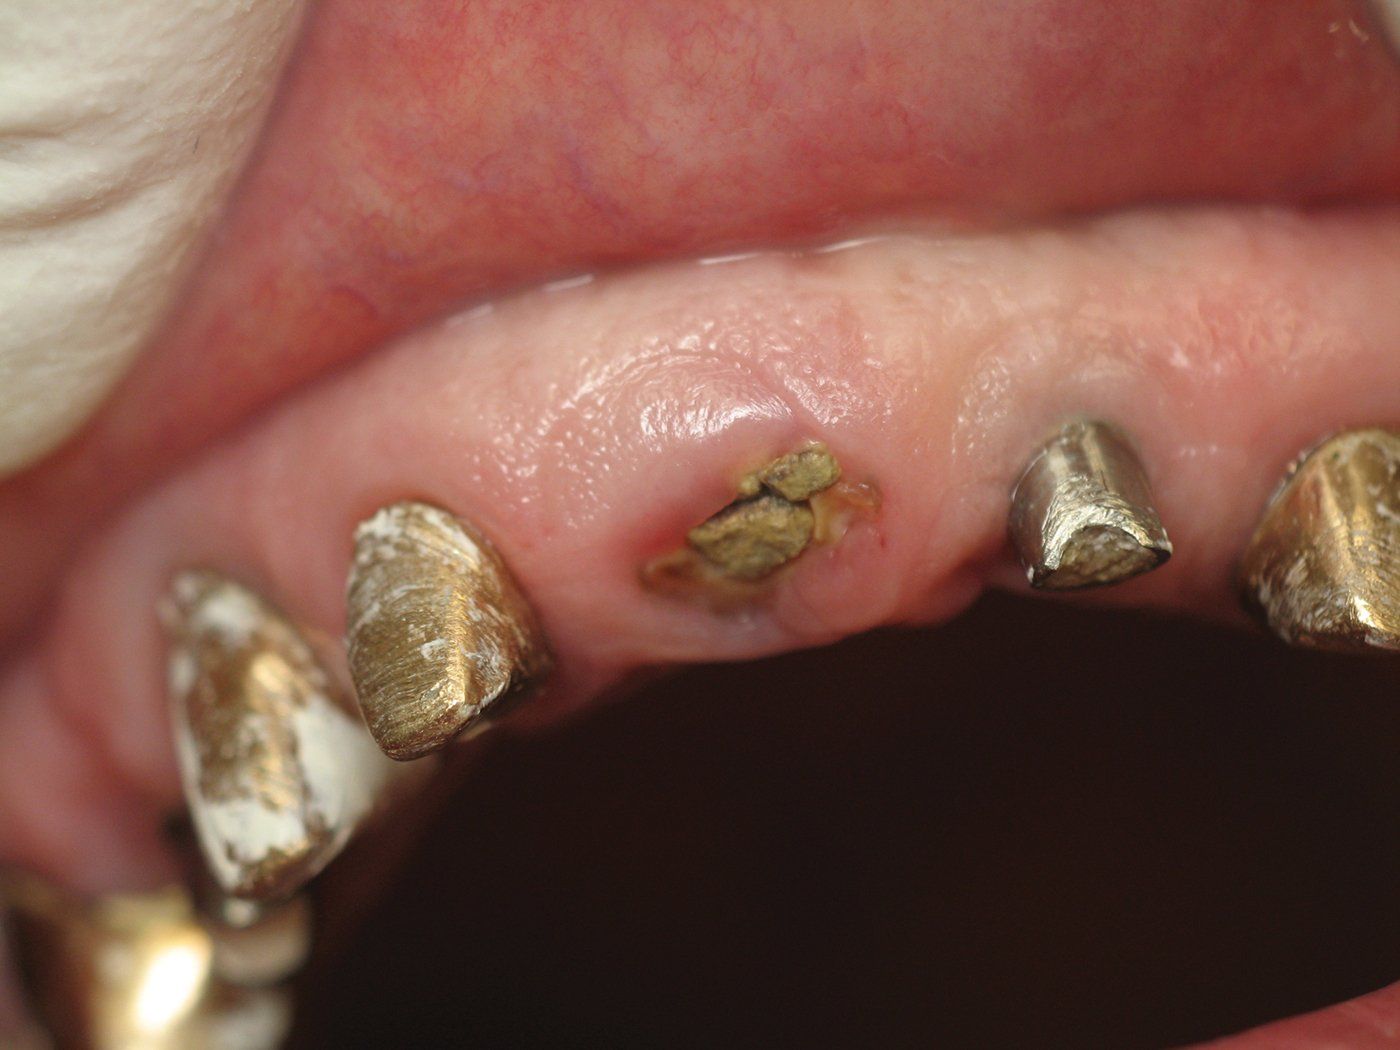
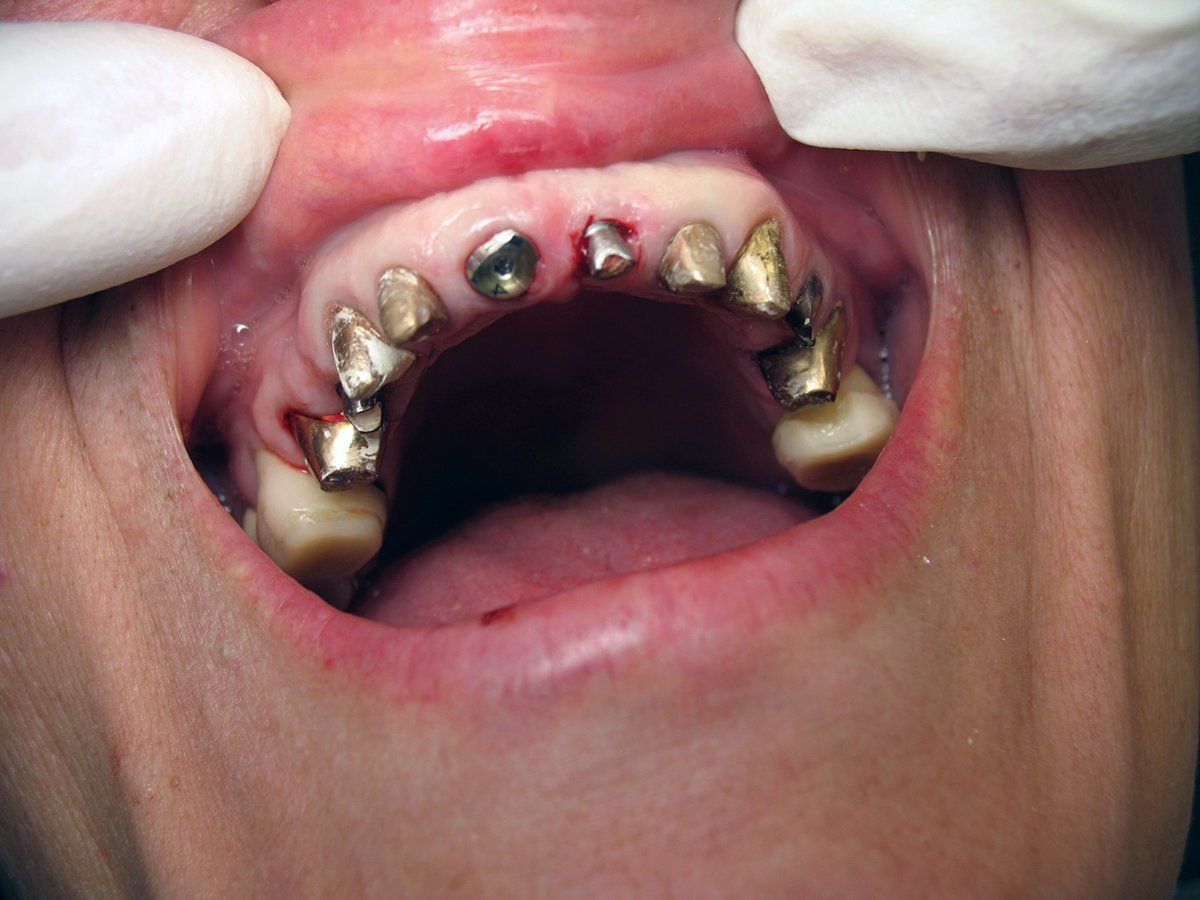
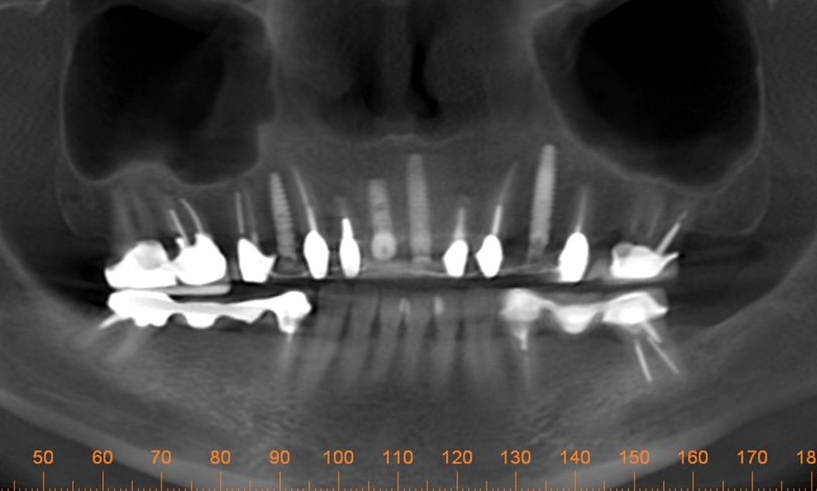
One day a 50 year-old patient and dentist friend of mine, (who already has multiple dental implants) came to my office and presented with a non-restorable fractured tooth number 8 (Figure 1). As you can see from the photograph, this looked to be a complicated extraction. As always, my treatment plan consists of proper imaging. With dental implant cases it usually involves the i-CAT. (Figure 2)
The primary challenge was to remove tooth number 8, while maintaining the soft tissue and bone intact. As I have mentioned in previous articles, I will strategically plan out the entire case before beginning any procedures. The plan was to extract tooth #8 and place an immediate implant. Since there was no root to grab on to, and lifting a flap would compromise the buccal bone, I decided to utilize a new instrument on the market called Benex® Control, an atraumatic tooth extractor by Meisinger USA. I feel one has to have state-of -the-art tools and technology at their disposal for just the right application. This case was an ideal case for the Benex® Extractor. This device works like magic for removing single roots without lifting a flap or cutting bone.
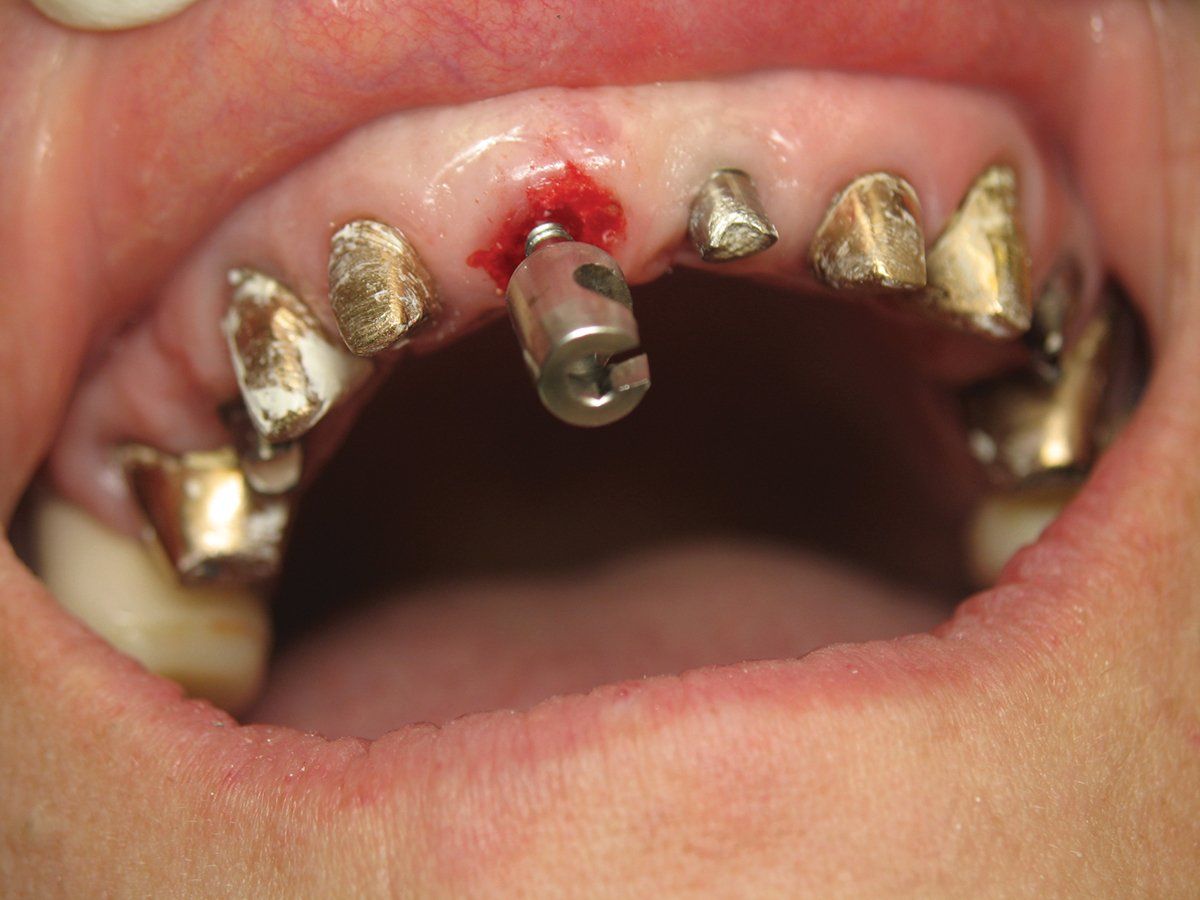
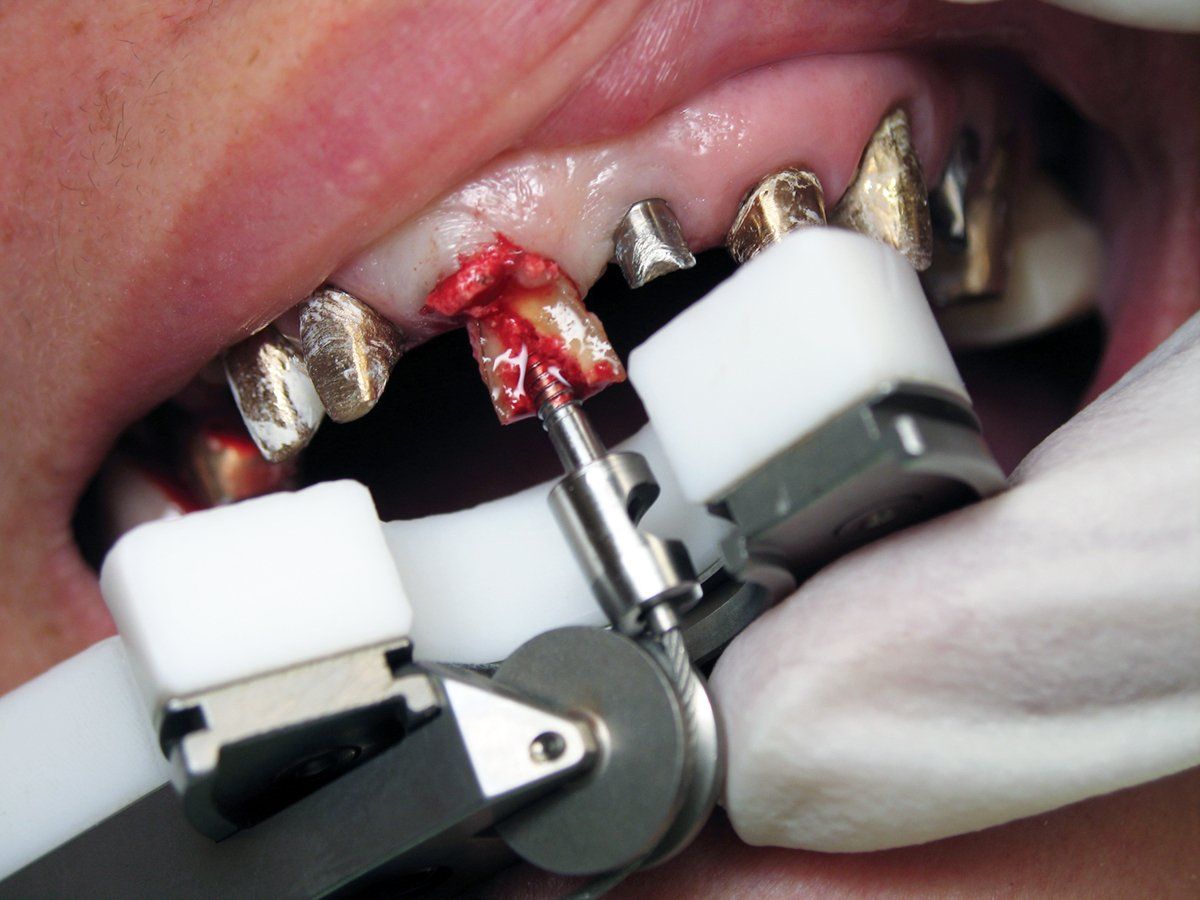
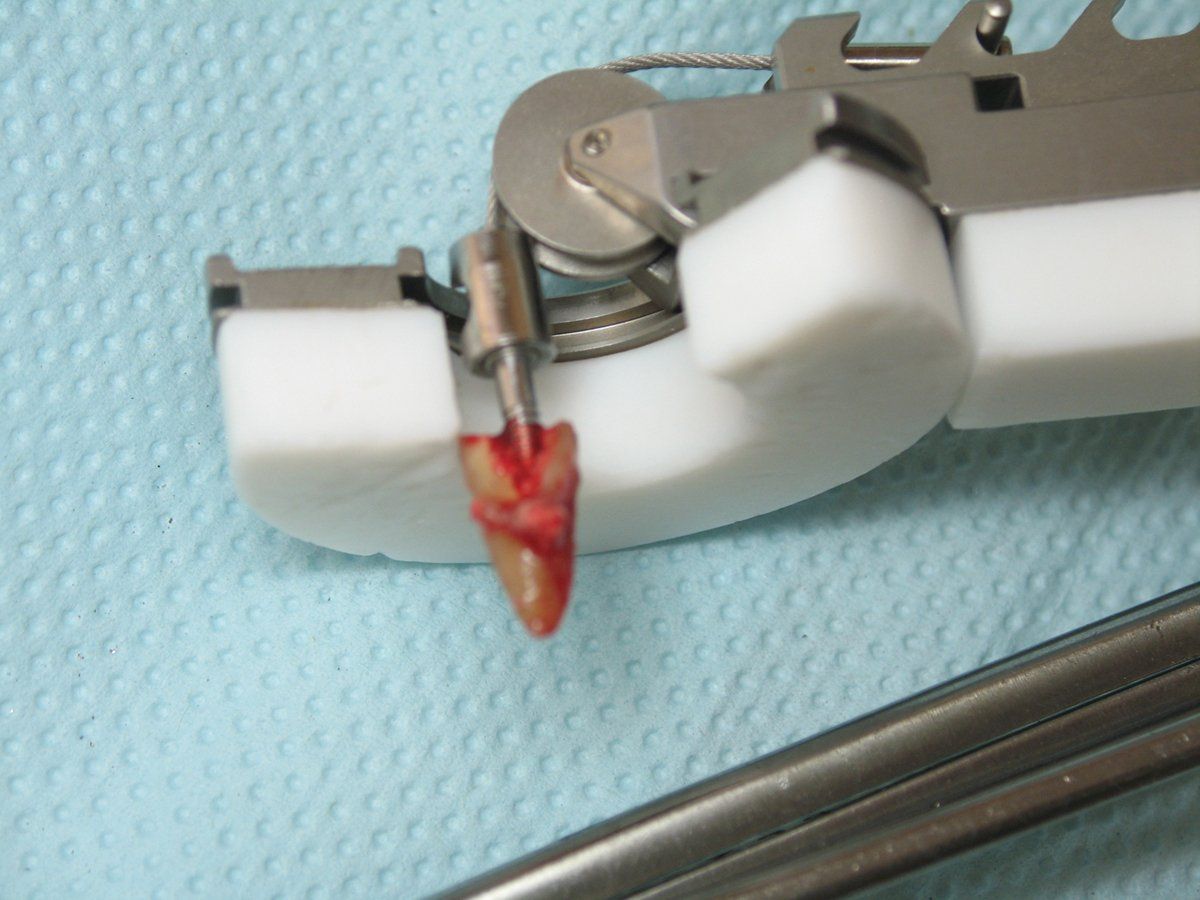
The specific technique involves using a special bur to drill into the pulp chamber and then threading a matching anchor into the tooth (Figure 3). A pulley system is utilized and a protective bite plate rests on the adjacent teeth and is attached to the anchor via a braided cable. By rotating a knob at the end of the instrument, pressure is applied in the vertical axis of the root. As you gently increase the pressure to the cable, it allows the periodontal ligament to stretch. The root is extracted from the socket when sufficient pressure is applied, making a popping noise (Figures 4). When this works, it feels like magic. Left behind is an intact socket with the soft tissue and bone preserved and ready for immediate placement of a dental implant (Figure 5).
The implant osteotomy is performed slightly palatal to allow a small minimal gap between the future implant and the buccal bone. The pilot drill with the MIS implant system is used to start the osteotomy. Then the next two larger drill sizes are used to enlarge the osteotomy site further. The implant I chose was a MIS 7 implant 3.75 x 11.5 mm tapered implant with aggressive threads that finds its way by self-tapping into the osteotomy.
After placing the implant and filling the small buccal gap between the implant and the bone with a bone graft, I placed a 3-mm healing screw to maintain the gingival anatomy. As you can see (Figure 6) the soft tissue anatomy is identical to the pre-op photo. The patient will wear her temporary bridge for the next three months, at which point a final prosthesis, including the implant in position number 8 will be fabricated.
Having the right tool at the right time can make all the difference in the patient’s final treatment outcome. I strive to have the latest technology and techniques available at my fingertips. This way, I have a greater predictability of the results of my treatment plan each and every time.
■